Naptime Gnome Post #24
Carpet and tile demo for dummies… THAT’S ME! <;’)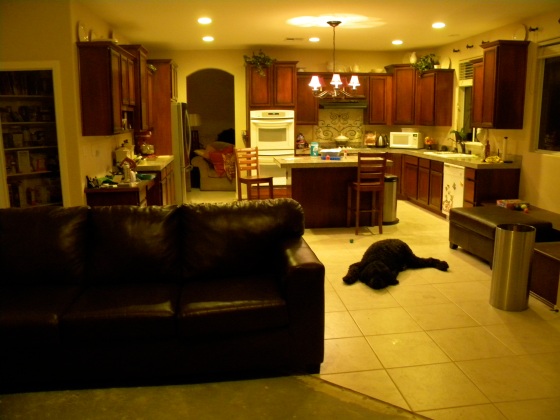 We broke up the project over about 5 days, ripping out carpet and baseboards and hanging plastic draping while the munchies slept. Then l made all kinds of crazy noise chiseling up tile and scraping and grinding thin set during waking hours. The dining room and master bathroom are far enough away I was able to demo those while our little lady napped.
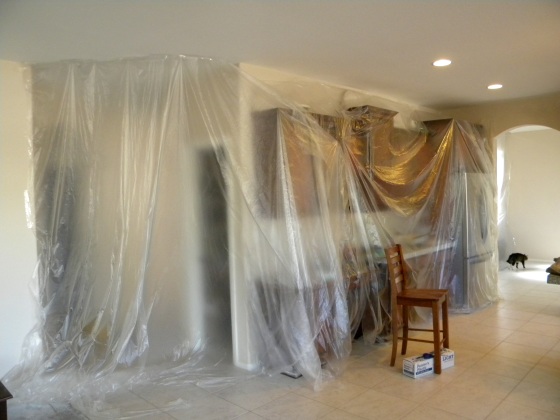 Removing the carpet was a snap, we just pulled it up at the edges, rolled, tossed and then scraped away a bit of glue. We didn’t get any pictures of the process, so I apologize for the lack of visuals. But it really was quick. The only moderately time consuming part was prying up the carpet tack strips which were nailed (and glued in some places) to the floor. Just be sure to wear a mask and gloves for the entire process as you are likely to stir up all sorts of dust, dander and who-knows-what other exciting stuff and the carpet backing is a bit rough on the hands.
The baseboards are simple to remove as well (short tutorial to come, as there are some simple tricks for better results), and you can remove them either before or after the flooring is removed, if they were installed after the floors. If your baseboards were installed before the flooring, you’ll have a much better time if you wait and pull them after the floor.
The hubby was a huge help rolling and lifting the carpet and pad, but if you’re on your own, just use a box cutter or carpet knife to cut the carpet and pad into manageable chunks to roll and toss. In our area, the sanitation workers will take pieces up to about 5′ long, rolled and bound (they probably weighed about 50 pounds or so *JUST GUESSING*), the rolls just have to be easily lifted by a single person. Check with your local recycling and garbage pickup center to get the details on how best to dispose of construction waste in your area (here’s the info for bulk waste disposal through Las Vegas Valley’s Republic Services). So we did toss a few smaller pieces on the curb, but much of the waste ended up at the transfer and recycling center.
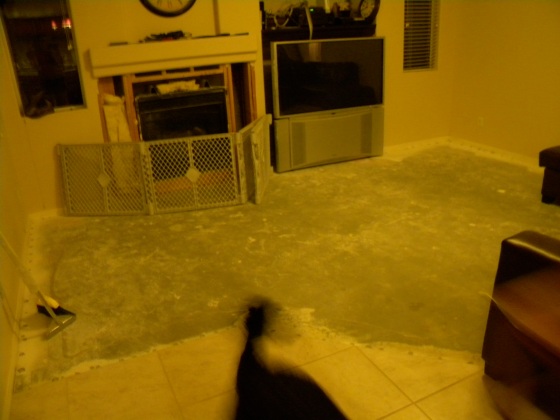
Remember that awful hearth? It went too, I’ll be sure to tell you a bit more about that soon!
Super Hubby was a huge help with the ripping out and carting away of the carpet and baseboards, as well as the toting and tossing of tile. The carpet and baseboards took a couple evenings. Between the carpet, pad, tile and baseboards, the hubby made about 5 trips to the dump (which we tried to pair with his trips to work as they are in the same direction).
The tile on the other hand, was far more tenacious. The bulk of the work was in chiseling, scraping and grinding away thin set and grout. I had oodles of help in childcare from Super Daddy over one weekend and a few wonderful friends over the course of a couple days. My dear Midnight Gnome and her awesome hubby helped when they could, but we started the project when they were out of town, so much of the 2000 sq.ft., or so, I tackled myself… with some help from “my little friend!”
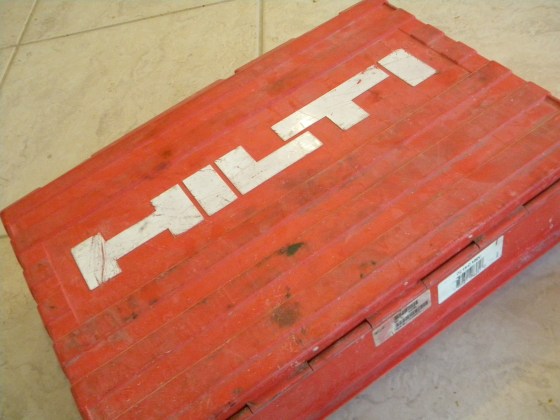
I’m totally one of those girls who loves gifts that come out of little hinged boxes… my preferred boxes are just a touch bigger than those of most!
We’ll get to him later, for now, here is how to do it by hand.
Here is the first installment in the Naptime Gnome’s adventures in tile demo!
NAPTIMES TO COMPLETE: HAH! This isn’t much of a naptime job,
although I found I could get away with it in the room farthest from
the baby’s room! I was able to knock-out the kid’s upstairs
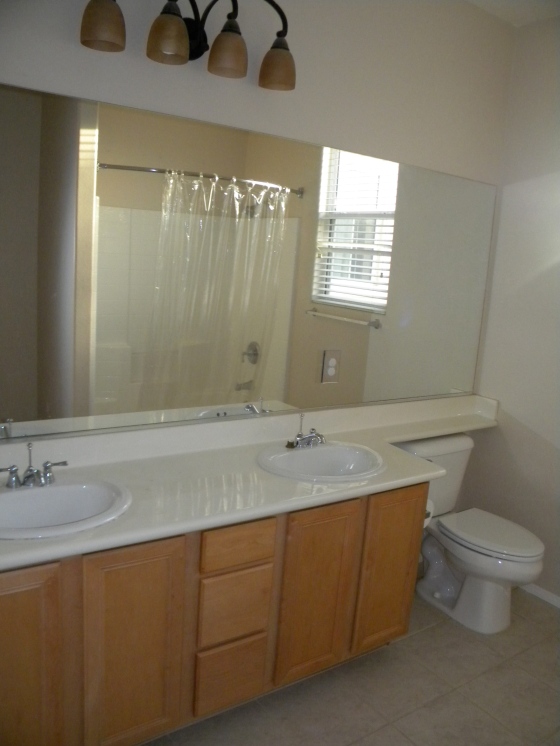
bathroom in about 5 hours by hand.
When removing tile by hand here are your best friends: A wider chisel would probably be even better, but this is the one I use for everything from splitting stone and bricks to prying — it did a pretty nice job. The scraper was particularly useful in removing thin-set from the backer board upstairs. It popped up the looser thin-set on the concrete downstairs, but was slow going on much of it. If you are doing a larger space (more than 100 – 300 sq.ft.) I highly recommend power tools. I’ll even show you what you’ll want to use in the next post!
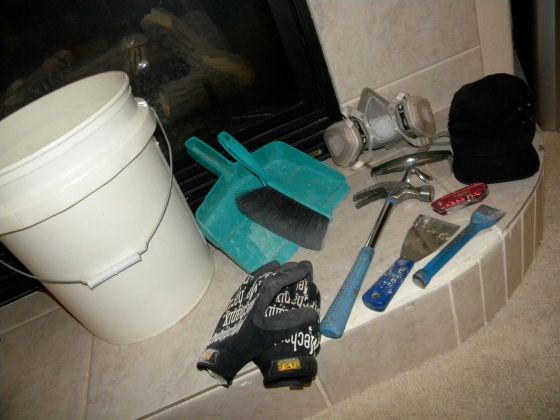 Before you begin be sure to prep the area and have all your safety items on hand. You will want a bucket or metal tub to put broken tiles in. A dust pan and brush or shop vac is also helpful to clean up a bit and figure out “where you are.” You will also want to wear a mask to protect from dust and shards, goggles or safety glasses, gloves (NOT OPTIONAL), and a hat. You’d be surprised how many little shards pop up and get in your hair, I actually had little cuts all over my head (in my hair) the day I used an electric chisel with no hat.
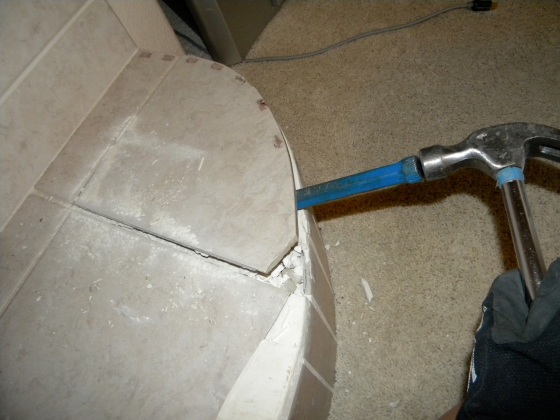
 To start find an edge of tile that a joins another type of flooring if possible, such as where the carpet meets the tile. If this isn’t an option, start with a “hollow” tile (you know, the one you can’t help knocking on), or right at the edge of the room often the thin set isn’t laid all the way to the wall and you may be able to knock out some tile with the hammer and make a little cove to start in. If you’re starting at a flooring union, place the edge of the chisel between the subfloor (usually backer board of some type, Hardie Backer or Wonderboard are common, or concrete if on the bottom level). Then use the hammer to tap the chisel to form a groove between the thin set and affixed tile and the subfloor. The tile may pop up right away or may take a bit more coaxing.
  Move the chisel along the seam tapping and prying up with the chisel a bit. If you are struggling to get the tile up and your chisel is basically buried, pull the chisel out and give the tile a few hits with the hammer near the center, start by tapping and strike slightly harder with each blow until the tile cracks.
 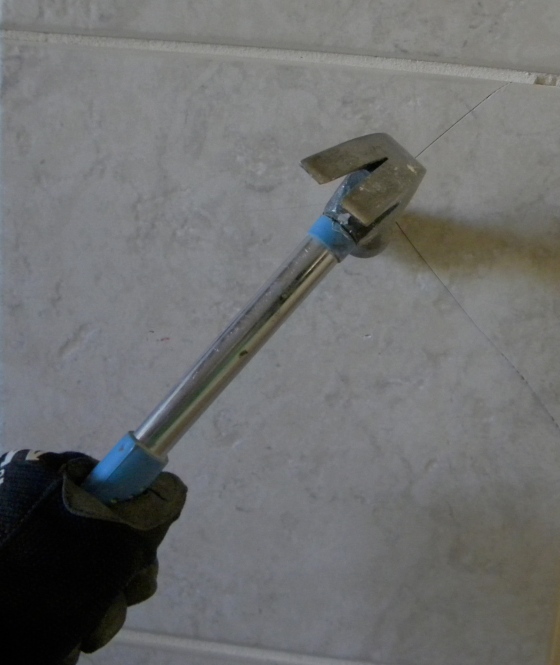 If you are looking to save the sub-floor you will not want to “beat up” the tile too much as the blows can damage the backer board and possibly the concrete. Once the tile cracks, place your chisel back in the groove and pop up the broken pieces of tile, you should be able to get under the tile better now and chisel the rest up.
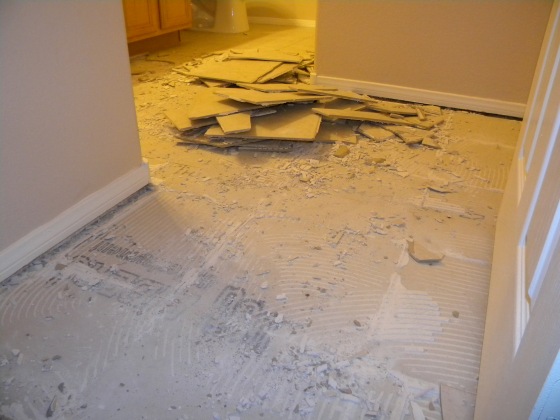
Once the first tile is out, start working your way around the room one tile at a time. Take extreme caution when handling the tiles and shards, they are EXTREMELY SHARP. I sliced through 3 pairs of Mechanics Wear gloves on this project. On two occasions my hands got fairly deep cuts as well. I found the most dangerous part to be the moving and disposing of broken tiles. Try to limit the amount you let the tiles slide across your hands, such as when tossing or carrying. Get a big metal tub or 5 gallon plastic bucket and place the broken tiles gently inside to transport to a dumpster or truck bed.
To finish up the job scrape up the remainder of the thin set and grout. You can use the chisel to tap up the larger thicker portions, and a putty knife and razor edge scraper for the thinner portions. When using your scraper the angle you use is very critical. Hold the scrapper more upright to pop of thicker pieces and reduce the angle with the floor (hold the handle at an angle where your hand is closer to the floor to scrape up thinner portions). Be careful when scraping on backer board to not gouge the backer board. When removing thin set you want to make sure you remove all loose material and anything that can be felt as a raised spot under our feet (with shoes on). You can still see a bit of the remnants here and there, but the floor should feel flat.
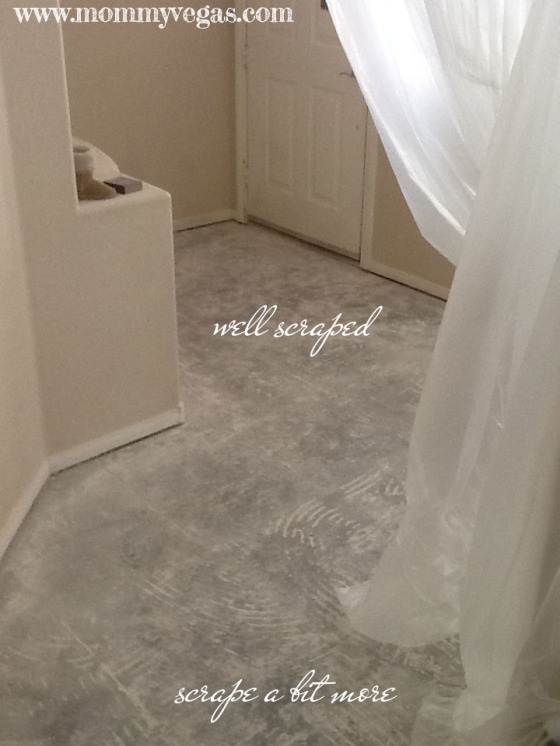
Stay tuned… HERE COME THE POWER TOOLS!!!
Enjoy!
With love from the Naptime Gnome! <;’)

Pingback: Our “New” House – Part 5 – Tile Demo… WITH power tools! | Mommy Vegas & the Naptime Gnome
Pingback: Our “new” home – Part 6 – Removing baseboards | Mommy Vegas & the Naptime Gnome